How to set up your video editing projects to stay secure, solid, and functional forever begins with an organized project folder template. This post shows you how to create a learning video project folder template and offers step-by-step instructions on how to create your first video editing project folder that will be there for you until the end of time.
WARNING!
Before you create a video editing project folder, you MUST have already done the following to create an effective learning video. This means you are following the VFL process: you have set a goal, written a script, and you are now in the planning stage of video production.
Need a refresher? Check out this link before you start editing.
Let’s set it up!
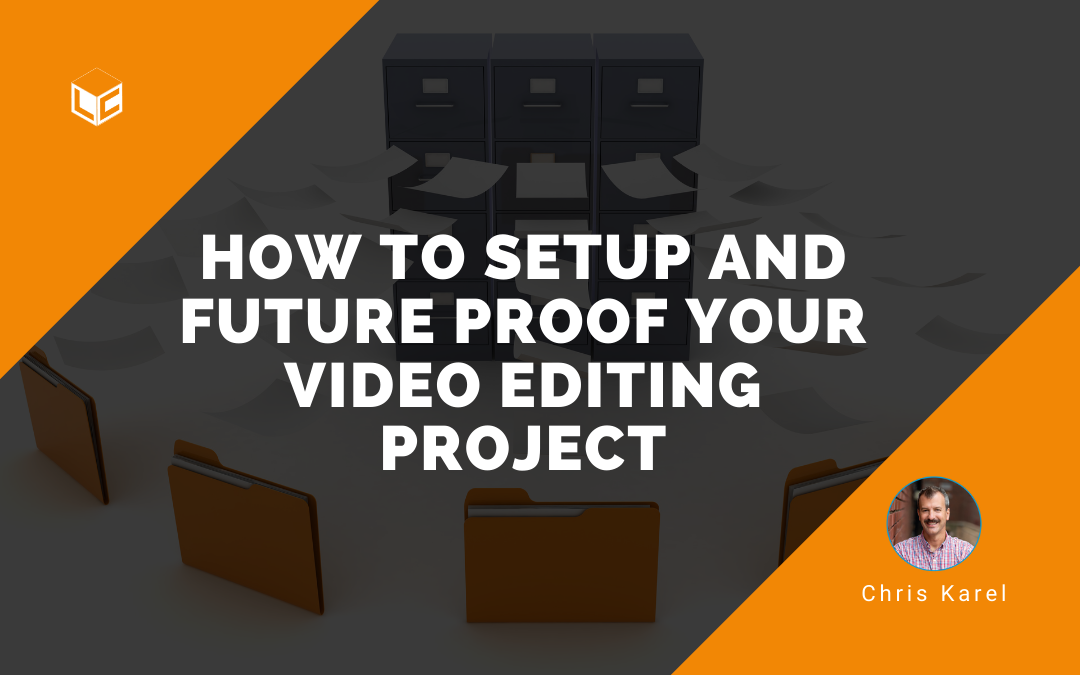
How to set up and future proof your video editing project
Step 1: Use a project folder template
Start with a project folder template. I have a project folder template that I created over years of making video and/or instructional projects. It contains the folders you see below.

It’s stored on my desktop, which makes it easy to locate and duplicate into the cloud or my local drive system. Each folder has subfolders and an archive folder. The video folder looks like this:

Quick note: Notice there is an archive folder in every folder so you can make it a practice to drag old versions of any edited file into it. Do this! You’ll thank me next time you see someone sifting through 20 versions of the same item to find the one they need!
If you are a scholar in the VFL program, you already have this folder structure. Email me if you want to get into the next cohort and start making your own learning videos.
Step 2: Create a new project folder
Every time you start a new instructional video project, create a new project folder. This will save you time and frustration. Knowing where your assets and exports (finished videos) are located will make it easy for you to find them later. If you simply put everything in one folder, it will get messy fast. Why? Well, video production is a series of linear processes involving multiple file types. A project folder template will keep everything in an easy-to-find place.
Step one is to copy this project folder structure and paste it into your existing folder structure, and rename the root folder to the name of your project. For example, I’ll copy the template, paste into my Video For Learning Course – Instructor folder, and rename it: How to Set Up Screencast.
Step 3: Obey the 3-2-1 backup rule
This rule will help you avoid losing your work to computer crashes or corrupted files. This should apply to all of your work (not just video) but video files get bigger faster than me at an all-you-can-eat Oreo restaurant.
This rule means that you should:
3 – create a primary backup and two copies of your file
2 – save your backups in two types of media (cloud & local drive)
1 – keep one backup offsite
Learn more about the origin and background of the 3-2-1 rule.
Now that you have a project folder and you’ve created a strategy to backup your data, it’s time to assemble stuff.
Step 4: Source your assets (graphics, images, music)
With a folder structure in place, you can pull up your script and start to find media that you will use in your video edit. To source, means to go find, download, (along with proper licenses) and add them to your project subfolders labeled: graphics, images, icons, music, etc.
Here are some great places to source assets.
Graphics Sources
Summary
How to set up your video editing project forever begins with a solid project folder template. Every time you start a new instructional video project, create a new project folder. Knowing where your assets and exports (finished videos) are located will make it easy for you to find them later. Step one is to create a project folder structure and backup your data. Step two is to obey the 3-2-1 backup rule to help you avoid losing your work to computer crashes or corrupted files. Step 3 is to source your media assets and place them into the appropriate folder. If you follow these three steps every time to start a video project, you will have a reliable and repeatable process that saves time and frustration!
Helpful Links
How to Start Making Your Own Videos – VIDEO
How to Start Making Your Own Videos
How to Gain Confidence on Camera – VIDEO
Why do you need the language of video? VIDEO
What is the VFL course – Video for Learning?