You’ve completed the design, development, and delivery of live training to your employees via Zoom, Meet, Teams, WebEx, or GoTo Meeting. Congratulations! But now you’re worried about that pesky forgetting curve and realizing that a week later your people won’t retain 90% of what they learned in that session. What can you do about it? Follow the steps below to turn your live training into microlearning
Create a program of microlearning and deliver it at your employee’s crucial moments of need. To read up on the forgetting curve, the five moments of need, and microlearning you can check out my previous post.
You can turn your live training into microlearning by following these seven steps:
- Set goals for your microlearning.
- Break down your live training into tasty nuggets.
- Decide what to make.
- Create an outline.
- Create the content!
- Distribute using a release plan or schedule.
- Measure the effectiveness.
Step 1: Set goals for your microlearning.
Before you can make anything, you need to know what you want to accomplish with your microlearning. Think about the common struggles of your learners.
Ask yourself:
- What do they need?
- What difficulties are they experiencing and how can microlearning help them on the job?
- How can you help them apply and analyze the most important information they’ve already been presented?
- What skills do you want people to walk away with?
Take that list and prioritize the items. What is most crucial to reinforce right now? Is there anything coming up at your organization that makes some concepts more important than others? This is where thinking about how to meet your learners’ moments of need comes in handy, and how you can provide them the exact information they need right when they need it. Once you know what immediate need or problem you are trying to solve with your first microlearning, it’s time to start step 2.
Step 2: Break down your course into tasty nuggets.
I bet your live training had spot-on speaker notes, an incredible slide deck, and maybe even some genius activities to add that much-needed interaction.
Well, now it’s time to eviscerate that precious presentation! It’s not as True-Crimey as it sounds.
Ask yourself:
- Where are there natural breaks in the content of the live training?
- How can I break it down further into smaller chunks?
Create a list or hierarchy of concepts – you probably already have an idea of this from when you designed the live training. Open up the slide deck to easily copy and paste content to another location if needed. Chunk out your list into possible micro-course sequences. Pull out the pieces of the training that are most related to the goal(s) you decided on in part one. Keep track of this in a spreadsheet that allows you to make a one-to-one comparison.
Step 3: Decide what to make.
When creating microlearning, it’s best to focus on one specific learning outcome at a time. Think about your goal from step 1. What material from step 2 should come first to help you tackle that goal? Ideally, microlearning should be about the application and analysis of the content to which learners have already been exposed. Regurgitating the same content from your Rise course might serve as “nice” reminders, but it won’t result in the deeper learning you need to reinforce the knowledge, skills, and behaviors you are trying to impart.
Once you have identified the specific material in your Rise course that you want to support with microlearning, it’s time to decide the actual artifacts you will create.
Ask yourself:
- Are you going to create new content or repurpose existing content with tweaks to make it more about application and analysis?
- How long will each microlearning event be?
- How can you get your learners to ask questions about the content?
- What relevant real-life examples can you use to support the content?
- What are some situations in the workplace where learners will have to make a decision based on client or customer input? How should they act or respond?
- What coaching feedback could you give them based on their choice?
- What modes will you use (video, text, simulations, scenarios, knowledge checks, short podcasts, games, etc.)?
- What authoring tool will you use?
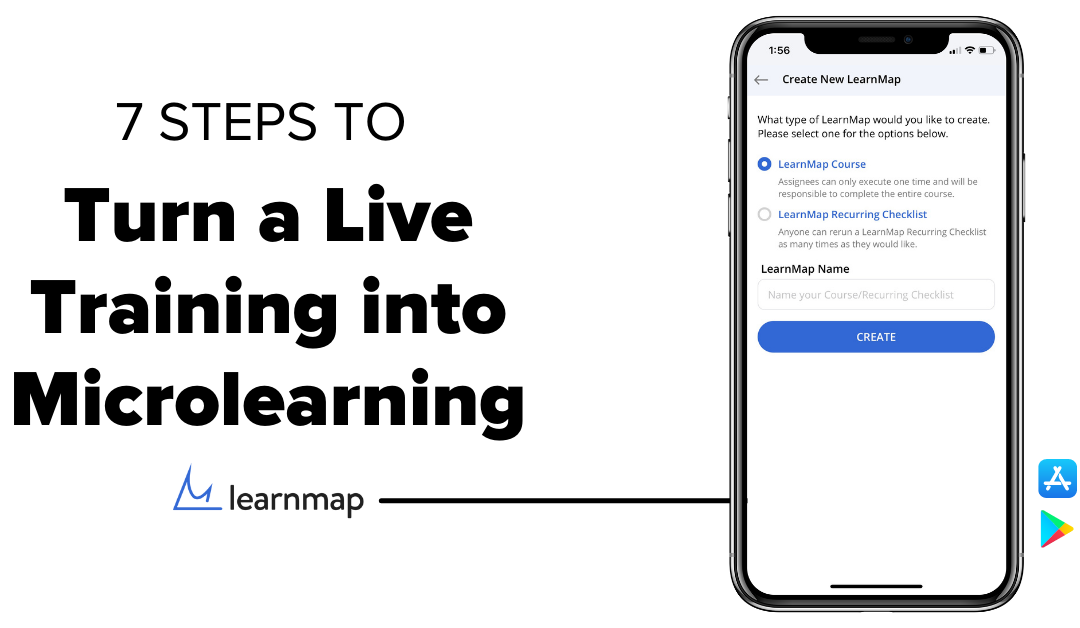
What you make will depend on your time, budget, and the technology available. Microlearning straight to your learners’ mobile devices is a great strategy, and there are platforms out there (like LearnMap) that can make this easy. You could also distribute content via mini Rise or Storyline courses, email, or your LMS – it really depends on where your learners are consuming content and the tools you have to make it happen.
Now, take your answers and make a list of microlearning pieces you want to create. Will you make 4 videos, one for each tenet of your company’s customer service strategy? Or will you make one simulation, one knowledge check, and one video per classroom management best practice? Do you want to create a couple of different microlearning courses on how to build relationships as a financial planner?
Write it out!
Remember, there should be one small concept per microlearning piece. They can build on each other to make larger microlearning course tracks, each focused on one specific learning outcome. You’ll decide the specifics of that in the next step.
Step 4: Create an outline
Steps 1-3 are about whittling down what it is you are going to make based on your microlearning goals and resources. Step 4 is about deciding the overall order and plan for the pieces you want to make. Base the order of the content on your people’s workflow and moments of need.
Ask yourself:
- In what order will you make your microlearning pieces?
- In what order will you release your microlearning pieces to learners?
- How many sequences will there be? How long?
- What additional resources can you provide and when will you mention them?
Use the list of pieces you want to make as the building blocks for your outline. Knowing the overall vision for your learners’ microlearning experience will help you make the content in an organized manner.
Step 5: Create the content!
Take that outline as your guide and make, make, make! Chunk up your live training recording if you have it and then get busy creating. Create the scripts, shoot the videos, draft the knowledge checks, produce the simulations, write the scenarios – you get the idea. Save the files in an organized folder structure wherever you keep your training. And, back up all your content in at least three places.
It might help to knock out all of the same types of content around the same time. For instance, if you need to make 5 videos, it might be easier to make all the videos since you’ll already be set up for video production.
Step 6: Distribute using a release plan or schedule.
Now it’s time to share. You want microlearning to happen on a regular schedule with the right amount of time in between. Too close together and the learners are overwhelmed and annoyed. Too far apart and it will be hard to keep the learning momentum going. Answer the below questions with your specific learners in mind, considering what their daily lives are like, their workflow, and when/how they’ll be accessing the microlearning.
Ask yourself:
- How often will the microlearning events occur?
- How will it be distributed (email, LMS, internal social media, etc.)?
- Do you need help from any other people or teams to distribute?
Take your outline and segment it out appropriately based on your people’s needs and daily realities. Then, upload the content to your chosen platform and schedule it out – whether that means via LMS, email drip campaign, or app, etc.. Bonus points if you can set it and forget it, or use your technology to automatically assign it once employees finish specific “regular” training sessions.
Learning about automation is a critical step if you are like the rest of us, busy!
Step 7: Measure the effectiveness.
You’ve put in a ton of work to get this far in creating microlearning to combat the dreaded forgetting curve. But your work is not done yet!
Ask yourself:
- Will you measure success by completion, score, performance improvement, or some other method?
- What does success look like?
Any training is only as good as its results in helping learners obtain the knowledge, skills, and behaviors they need to get better at their jobs. Choose the metric that makes the most sense with your organization and the technology you’re using for microlearning.
Summary
Follow this seven-step process to turn your live training into effective microlearning for your organization. First, set your goals. Next, break down your course into the smallest possible increments (aka nuggets) of knowledge. Then, decide what to make and create an outline. Once all that is complete you get to make your content! Then, distribute the content to your learners using a release plan or schedule. Finally, measure the effectiveness of your microlearning program.
Remember that microlearning should be quick answers and solutions to specific problems your learners experience on the job. If done well, it can serve as practical hands-on guides. The ultimate goal is empowering learners with the knowledge and confidence to teach each other.
Helpful Links
How To Flatten The Forgetting Curve With Microlearning From Learnmap
How to Convert ELearning Content to Microlearning
4 Tips on How to Convert Long-Form ELearning Courses to Micro Lessons
Join my learning pals
What’s your method for making microlearning? Did these seven steps help? Leave a note in the comments to let me know.
Did you like what you read? Join my learning pals. Please subscribe to my newsletter to receive free learning resources delivered to your inbox every two weeks.
THE END